To get started, login to your account and go to
SETTINGS -> General Ledger -> Xero
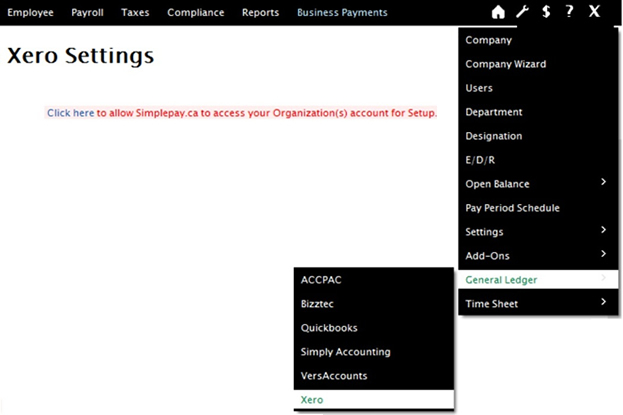
Click on the link "Click here" in the message. You will now be forwarded to the Xero site to authenticate and provide permission for to post transactions to your account. Login with your Xero credentials.
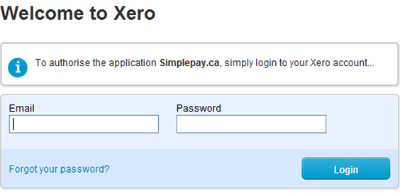
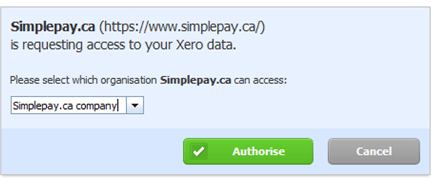
Next, Xero will confirm the request and ask you to authorize to post transactions to your account.
Organization created in Xero will be loaded in drop down list. Click Authorise button to synchronize your and Xero Company
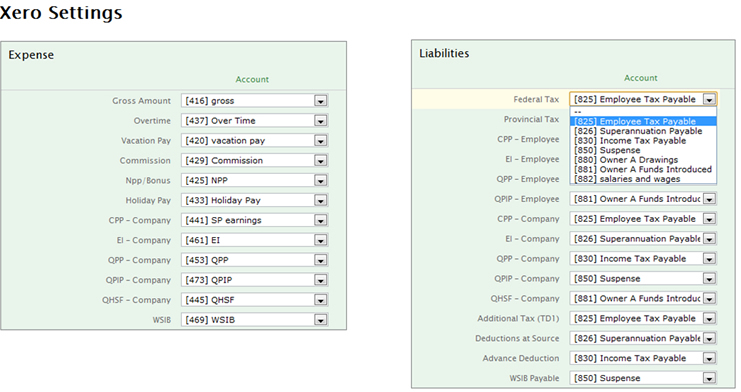
Once authorised, you'll be directed back to the and given the option to synchronize your Xero chart of accounts with .
Use the drop down lists to match the fields to the appropriate accounts imported from Xero.
and Xero synchronization is now complete. You can now process a pay period(s) on . To do so, click on Payroll in Menu. Run your payroll as you normally would.
When you are ready to import your transactions into Xero, click Close Period button. There will be link to Export to Xero, click on this link or load directly the Xero page in SETTINGS -> General Ledger -> Xero
Exporting Data
You can export data for Payroll and Taxes to Xero by selecting pay period type, pay period end date/date range and Due date (Due date of Bill exported in Xero from )
Exporting Options
You can export Payroll and/or Taxes records (separate records for CRA, RQ and WSIB) in following formats1. Single Bill for the pay period
2. Separate Bill for each employee in the pay period
3. Bill, group by Expense Category for the pay period (Employees can be grouped in Expense Categories in Employee Setup page)
Tracking Categories
In addition to above 3 formats you can select to export records based on Tracking Categories for timesheet hours.
a. Create Timesheet Column Headings in (Setup > Timesheet > Column Headings), heading labels must be same as Tracking Categories name in Xero (Case Sensitive)
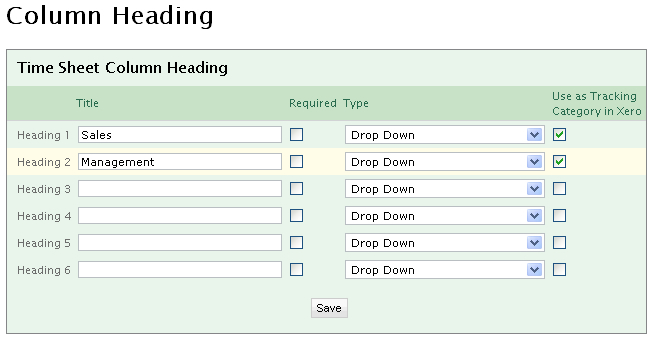
b. Select Check box (Use as Tracking Category in Xero)
c. Maximum 2 headings can be defined to be used as tracking category in Xero
d. Create Contents for these headings (Setup > Timesheet > Define Content), content text must be same as Tracking Category Options created in Xero (Case Sensitive)
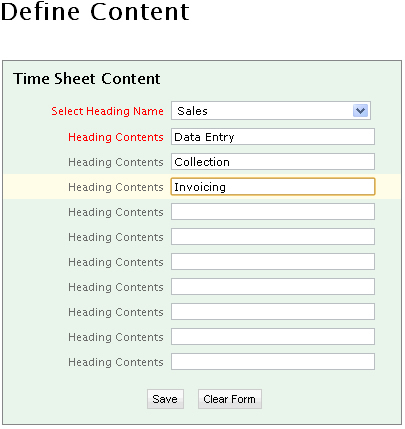
e. Only Gross amount will be divided into Tracking categories if timesheet data has been entered and any of these headings are selected in Timesheet page.
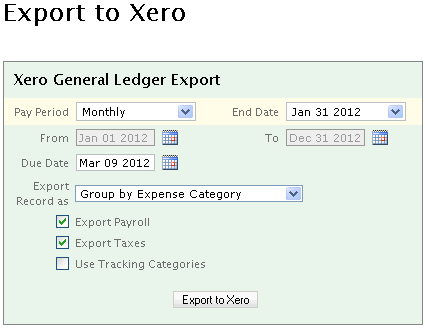
Press Export to Xero button after required selection.
will send Xero any transactions you've done since you've last closed your payroll period.
Now the next time you log into Xero you'll see a draft bill from
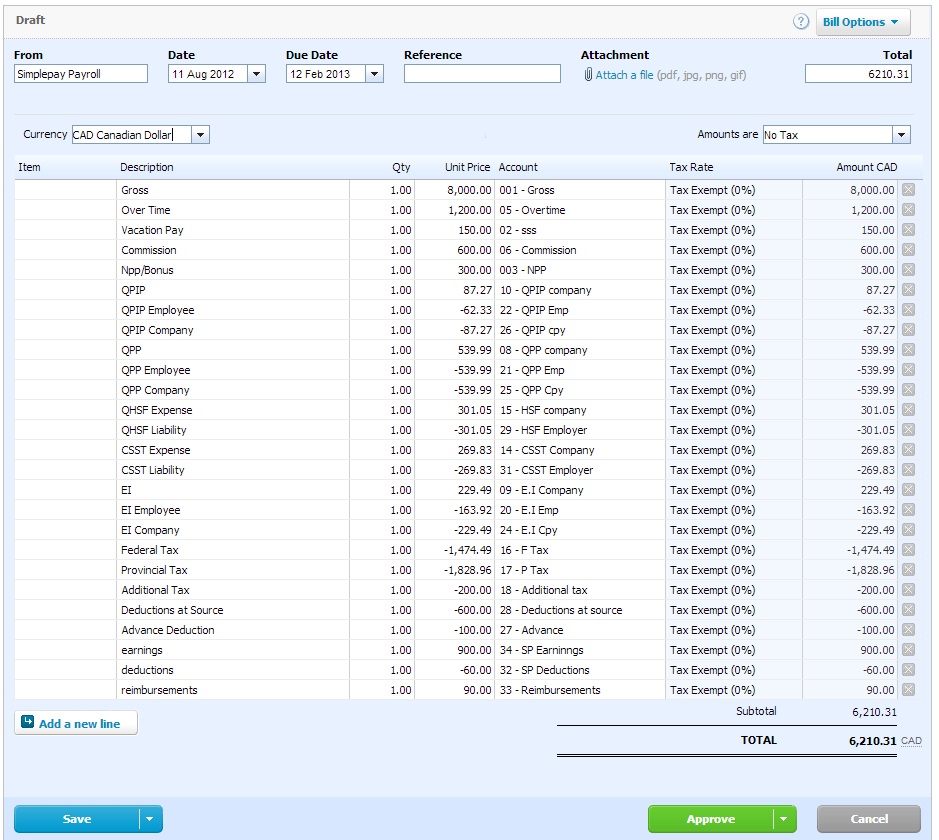
Ensure all the line items are correctly matched to the accounts in Xero and approve your bill. That's it! You've successfully imported your payroll transactions into Xero Online Accounting.